Drupal REST API Authentication
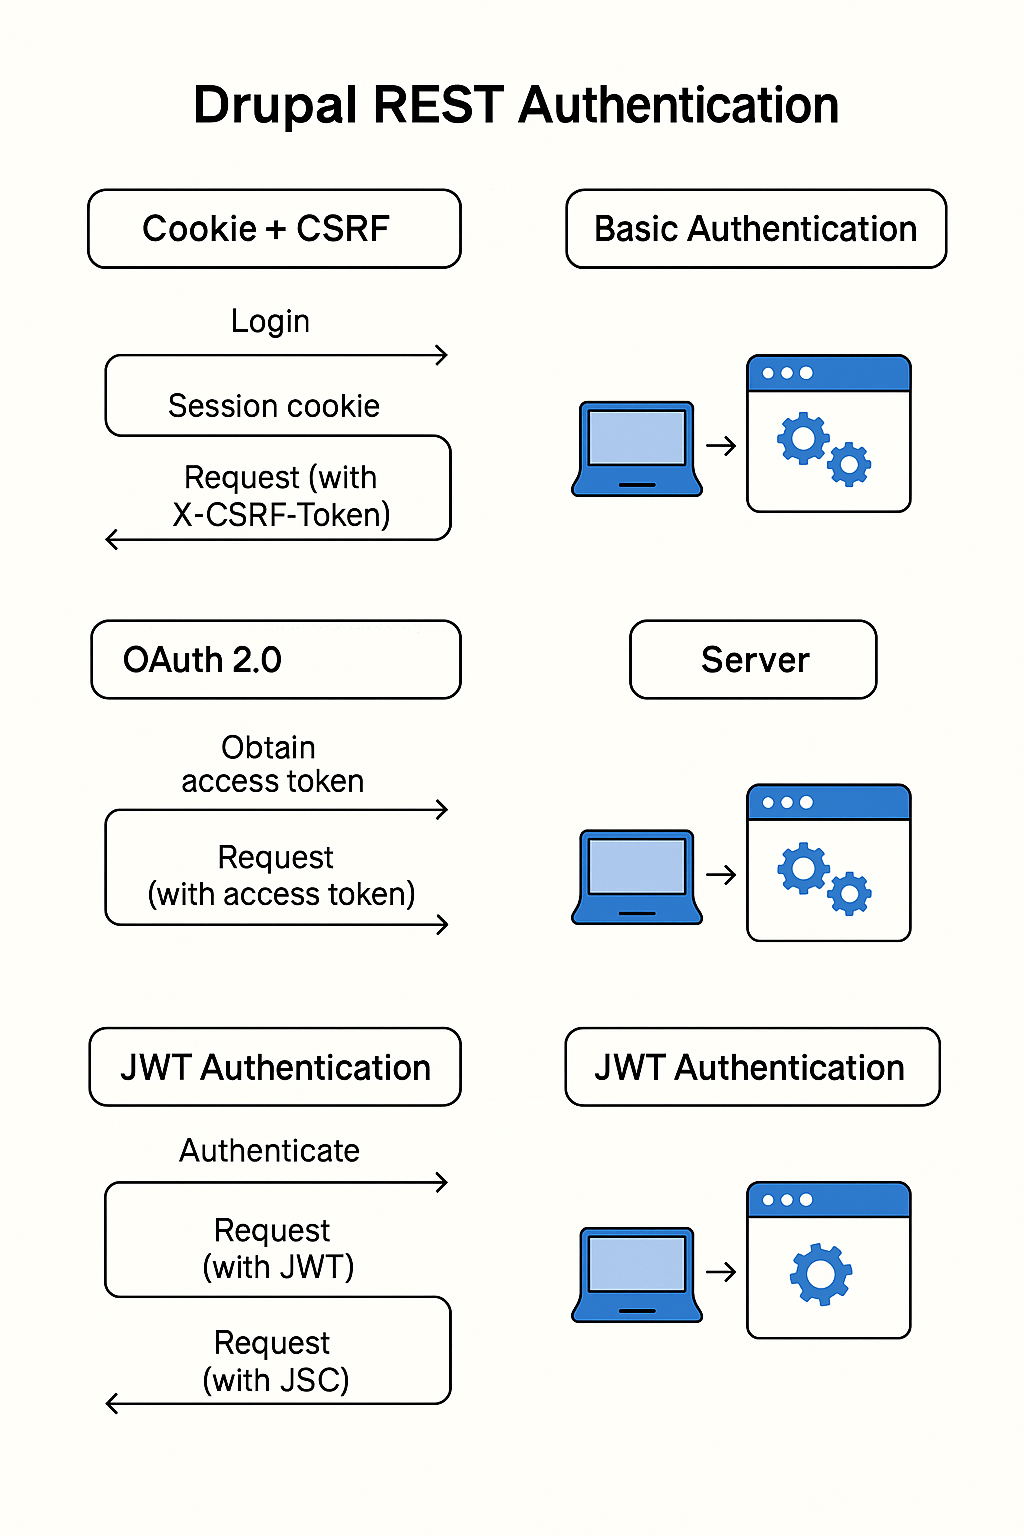
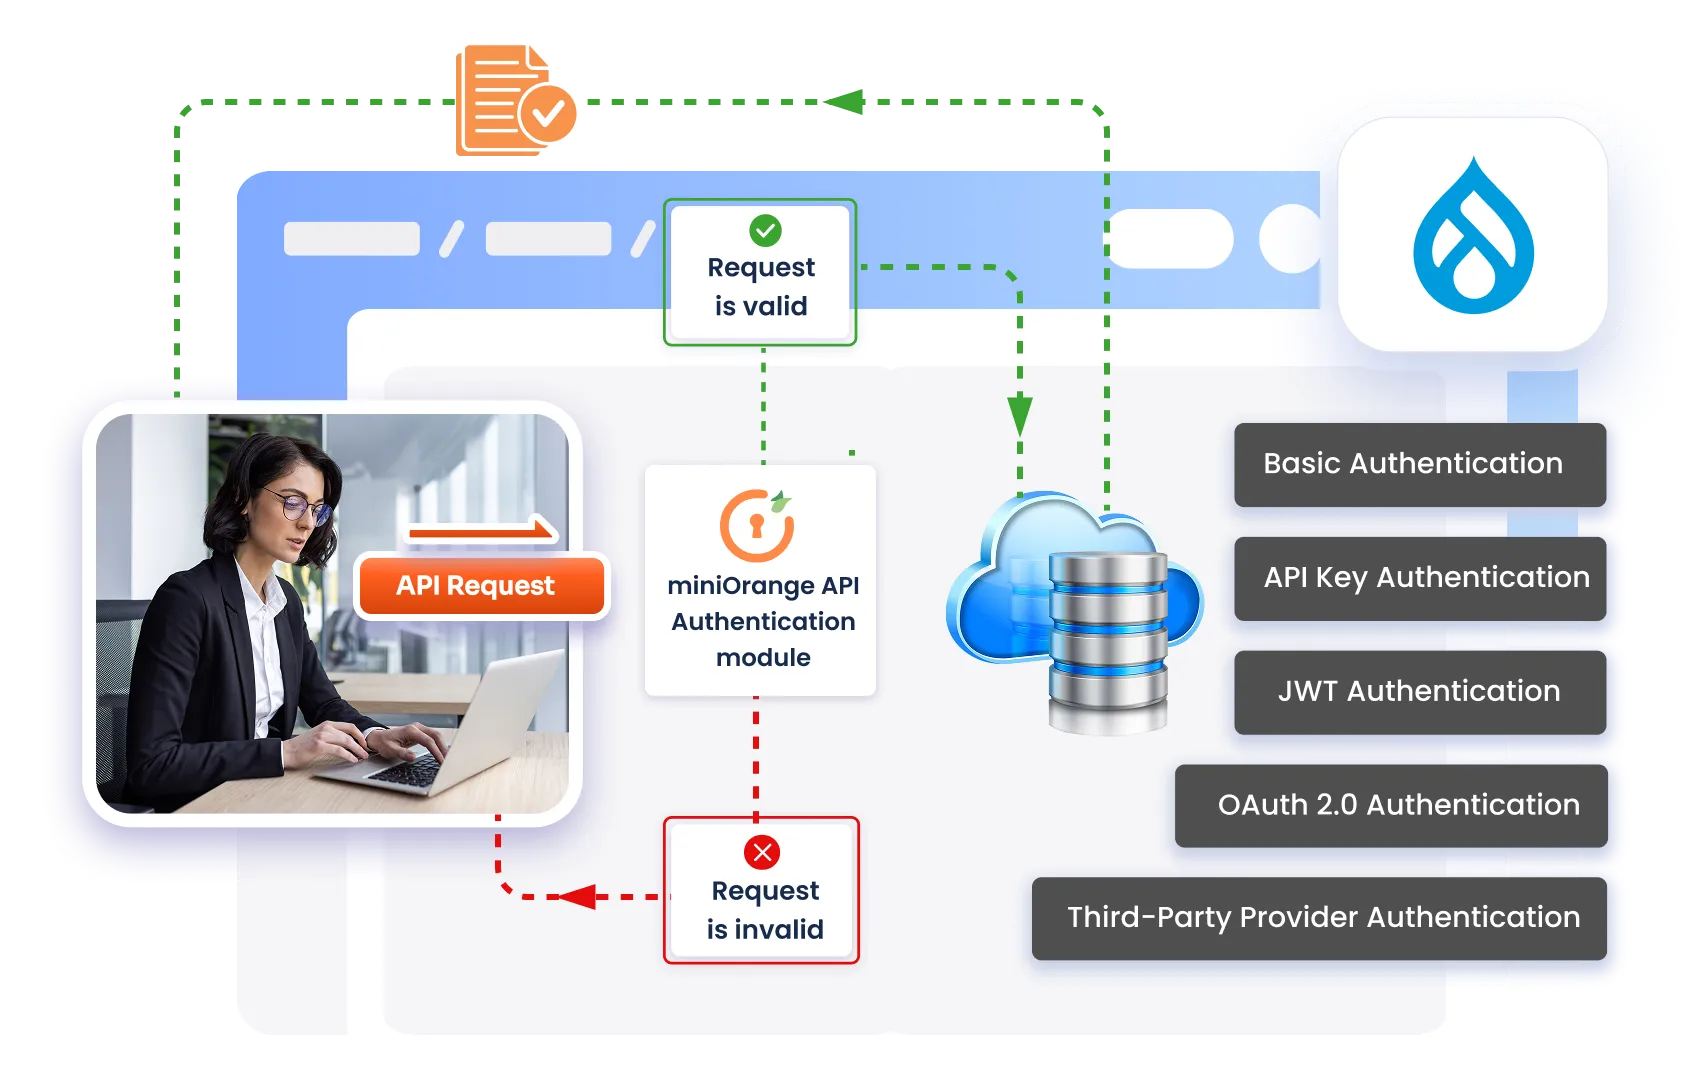
Drupal supports multiple authentication methods for REST:
Cookie + CSRF token (session-based)
Basic Authentication (core module)
OAuth 2.0 (Simple OAuth module)
JWT (JSON Web Token)
Custom/API Key–style auth (via contrib or custom code)
Each has different security levels, complexity, and best-fit scenarios.
1. Enabling REST in Drupal
Before talking about auth, ensure REST itself is on.
1.1 Enable core modules
Go to Extend (/admin/modules) and enable:
RESTful Web Services (REST)
Serialization
HAL (optional, if you want HAL+JSON)
JSON:API (optional, if you want JSON:API instead of REST endpoints)
Basic Auth (if you plan to use it)
Or use Drush:
drush en rest serialization hal basic_auth -y
# optionally
drush en jsonapi -y
1.2 Configure REST resources
Navigate to:
Configuration → Web services → REST (/admin/config/services/rest)
Here you can:
Enable REST for particular resources (e.g., Node, User, Comment).
Choose:
Request methods (GET, POST, PATCH, DELETE)
Request format (json, hal_json)
Authentication providers (cookie, basic_auth, oauth2, jwt, etc.)
2. Cookie + CSRF (Session-Based Authentication)
When is it used?
Same-site or same-domain web apps.
Admin interfaces and traditional Drupal front-end.
SPAs that still share the same domain and can carry cookies.
How it works (high level)
User logs in via
/user/login(form or POST).Drupal sets a session cookie.
For unsafe HTTP methods (POST, PATCH, DELETE), you also send a CSRF token.
Server validates the session + CSRF token.
Steps to use Cookie + CSRF for REST
Allow cookie authentication in REST config
In/admin/config/services/rest, under each resource:Check Cookie as an authentication provider.
Get CSRF token
Call:
GET /session/token
You’ll get a plain-text token, e.g.
XyZ123abc...Perform login (if needed via API)
You can POST to
/user/loginor use a custom login endpoint to get the session cookie (usually handled automatically by browsers).Call REST endpoints
Use:
The session cookie (automatically sent by browser).
X-CSRF-Token header with the value from
/session/token.
 POST /node?_format=json
X-CSRF-Token: XyZ123abc...
Cookie: SESSabcd12345=...

{
  "type": [{"target_id": "article"}],
  "title": [{"value": "My article"}]
}
Advantages
Easy for browser-based apps (cookies handled automatically).
Built into Drupal core, no extra contrib needed.
Good for admin interfaces and same-site SPAs.
Disadvantages
Not ideal for mobile apps or 3rd-party consumers.
CSRF protection must be handled carefully for write operations.
Doesn’t fit well with stateless or cross-domain architectures.
3. Basic Authentication (Core)
When to use
Quick tests, internal tools, scripts.
Low-risk, internal-only APIs (on VPN or behind gateway).
You want something simple and don’t mind sending credentials each time (over HTTPS!).
How it works
Client sends
Authorization: Basic <base64(username:password)>on each request.Drupal authenticates the user based on those credentials.
No sessions or cookies needed (though sessions can still happen).
Steps to enable Basic Auth
Enable module
drush en basic_auth -yConfigure REST resources
In
/admin/config/services/rest:Enable Basic Auth as an authentication provider for specific resources.
Example: Node resource → Auth providers:
basic_auth, cookie, oauth2.
Make a REST call
Example (using
curl):curl -X GET "https://example.com/node/1?_format=json" \ -H "Authorization: Basic $(echo -n 'username:password' | base64)"
composer require drupal/simple_oauth
drush en simple_oauth -y
Key concepts
Clients – apps that want to access your API (mobile app, SPA, integration).
Access tokens – short-lived tokens that authorize requests.
Scopes – define what the client can access.
Grant types – password, authorization_code, client_credentials, refresh_token, etc.
Steps to configure Simple OAuth
Install & enable module
Install via Composer.
Enable via UI or Drush.
Generate keys
Simple OAuth needs private/public key pair for signing tokens.
Go to Configuration → Web services → Simple OAuth.
Generate or upload keys (the UI/README will guide you).
Ensure private key is outside web root and not publicly accessible.
Create OAuth Clients
In the admin UI (usually under Simple OAuth config):
Add a new client (e.g.,
my_mobile_app).Set:
Client ID
Client secret (store it securely)
Allowed grant types (e.g.,
password,authorization_code).Redirect URIs (for authorization_code flows).
Enable OAuth on REST resources
In
/admin/config/services/rest:Enable OAuth 2.0 (often listed as
oauth2orsimple_oauth) as an authentication provider for your resources.
Obtain an access token
Example – password grant:
curl -X POST "https://example.com/oauth/token" \
  -d "grant_type=password" \
  -d "client_id=CLIENT_ID" \
  -d "client_secret=CLIENT_SECRET" \
  -d "username=api_user" \
-d "password=api_password"curl -X GET "https://example.com/node/1?_format=json" \
-H "Authorization: Bearer eyJ0eXAiOiJKV1QiLCJh..."Advantages
Best for production APIs and external integrations.
Tokens can expire - lower risk than static credentials.
You can revoke tokens or clients without touching user passwords.
Works well with mobile apps, SPAs, microservices.
Supports scopes & roles for fine-grained permissions.
Disadvantages
More complex to set up (keys, clients, grants).
Requires contrib module and ongoing maintenance.
Needs some learning curve for front-end/mobile devs.
5. JWT (JSON Web Token) Authentication
JWT is another token-based approach but more lightweight and stateless.
When to use
You want stateless APIs (no session storage).
You already use JWTs in your ecosystem.
You have an authentication provider that issues JWTs.
Typical setup
Use contrib modules like:
JWT
JWT Authentication
Flow
Client authenticates (either via a login endpoint or external IdP).
Drupal issues a JWT signed with a secret or private key.
Client includes the JWT in each request:
Authorization: Bearer <jwt-token>Drupal verifies signature and claims.
Advantages
Fully stateless – good for scalable APIs.
Compact, works well with mobile and SPAs.
Can carry extra claims (roles, user id, app info).
Disadvantages
Token revocation is tricky until expiry.
Needs correct configuration and key management.
Requires contrib modules and some custom integration.
6. API Key / Custom Token Authentication
Sometimes you want something very simple:
Each integration gets a static API key.
They send it in a header like
X-API-Key: abc123.
This usually needs a custom module or a contrib module that maps API keys to users/roles.
When to use
Internal integrations.
Server-to-server communication.
When you manage and rotate keys manually.
Advantages
Very simple concept for external systems.
Easy to script and monitor.
Disadvantages
Not a standardized flow like OAuth 2.0.
Harder to manage securely at scale (rotation, revocation).
If key leaks, attacker has full access for that key until you rotate it.
7. Which Authentication Method Is Better?
“Better” depends on use case. Here’s a quick comparison:
| Scenario | Recommended Method |
|---|---|
| Same-site admin UI / traditional Drupal front-end | Cookie + CSRF |
| Quick internal scripts, CI, one-off automation | Basic Auth (over HTTPS only) |
| Public API / Mobile apps / SPAs | OAuth 2.0 (Simple OAuth) |
| Microservices / stateless / existing JWT ecosystem | JWT |
| Simple internal system integration with limited consumers | API Key / custom auth |
8. Pros & Cons Summary
Cookie + CSRF
Pros: Native to Drupal, good for browsers, secure with HTTPS.
Cons: Not ideal for external/mobile, tied to sessions.
Basic Auth
Pros: Easiest to set up, good for internal/testing.
Cons: Credentials on every request, not scalable or revocable per app.
OAuth 2.0 (Simple OAuth)
Pros: Best practice for APIs, tokens, scopes, revocation.
Cons: Setup complexity, requires keys & understanding flows.
JWT
Pros: Stateless, compact, good for distributed systems.
Cons: Revocation/rotation complexity, needs careful setup.
API Keys / Custom
Pros: Very simple model, good for a few trusted systems.
Cons: Not standardized, key management risk at scale.